
Objective
Describe the steps for installation of the OpMon through VMware Player.
Target audience
It is destined for users who wish to install OpMon using VmWare Player.
Solution
The VM medias are available in the extension *.ova (Open Vertualization Alliance – OVA), that can be used with the major virtualization managers on the market (VirtualBox, VMware).
For this procedure of OpMon virtual installation we will use VMware, that can be obtained on its latest version through following link:
![]() Download right the from the VMWare, at: [ VMware Player ]
Download right the from the VMWare, at: [ VMware Player ]
If you want to run the OpMon Physical installation, click here.
If you want to run OpMon Installation on Oracle VM VirtualBox virtual machine, click here
Basic Fundamentals
The OpMon platform uses CentOS 6 as operating system. CentOS 6 is a Linux distribution of Enterprise class derived from source code distributed for free by Red Hat Enterprise Linux. It means that CentOS 6 is compliant with Red Hat Enterprise Linux 5.
The OpMon platform is integrated to the CentOS 6 operating system, with a server installation with the minimum requirements needed for its operation.
All the updates and correction patches of the OpMon platform and operating system, are distributed as RPM packages, where they are available for our clients on our repository (http://repo.www.opmon.com), is possible to use it through the command yum.
The OpMon platform must have unrestricted access of types “proxy” or “Firewall” to the repository “http://repo.www.opmon.com”.
Follow the step by step to perform the installation of OpMon using virtualization solution from VmWare or watch the video below:
Downloading
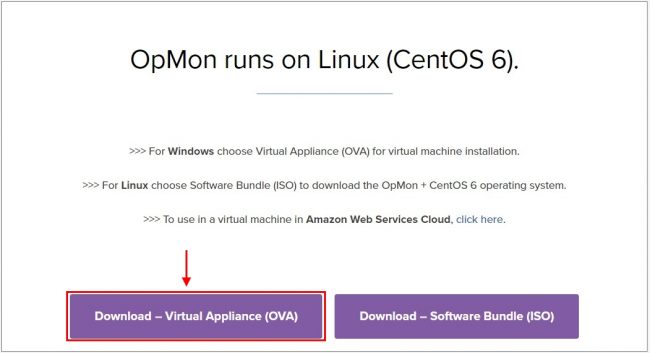
a) After following the previous steps, it is enough to select the VM to be used.
The download time can vary depending on the internet link.
b) After downloading, open the VMware Player and click: “Open a Virtual Machine”
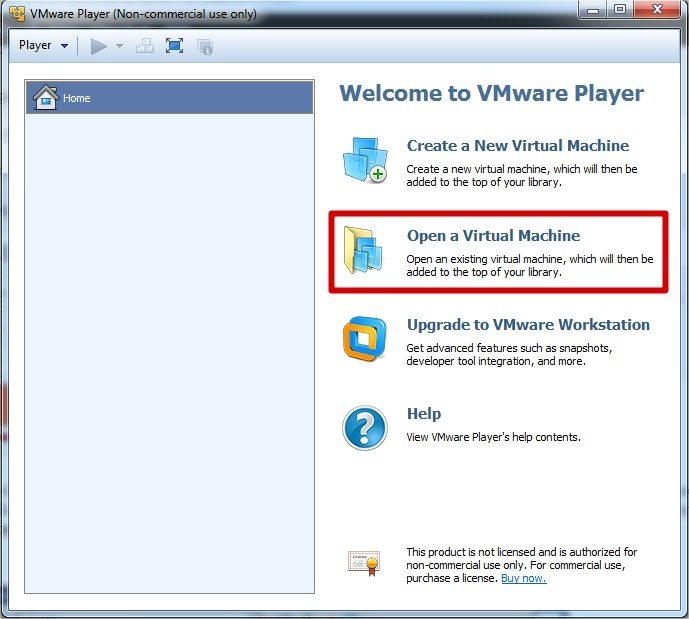
c) Open the VMware Player, click on “Open a Virtual Machine”, locate the directory where was downloaded the OpMon VM media, on “Type” select the option “All images files (*.vmx, *.vmc, *.ovf, *.ova)”, will be displayed the file of VM OpMon_5.0-i386.ova, after selecting it, click on “Open”.

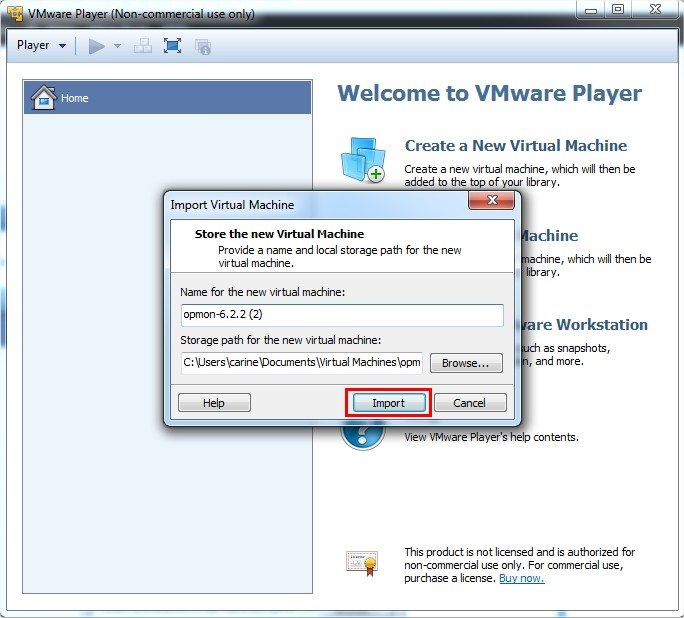
d) The option for renaming the VM and the directory where the VM will be stored will be displayed, run the modifications and click on “Import”:
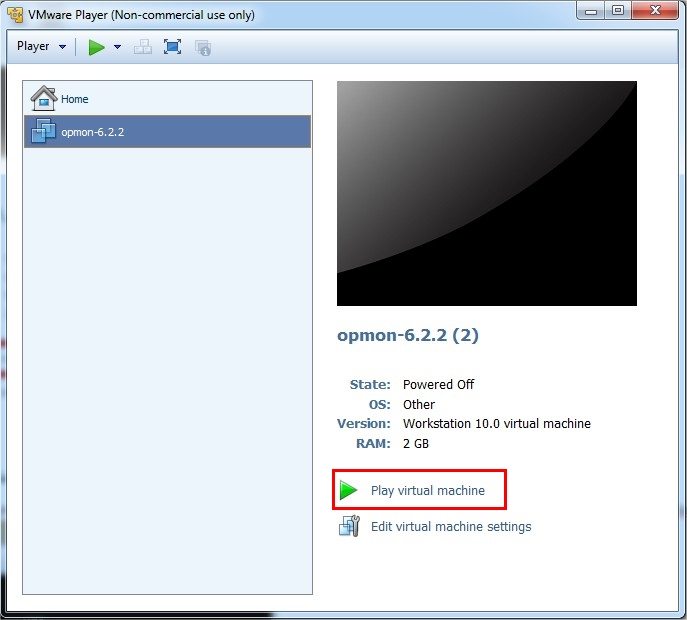
e) After completing the import, we can start VM by clicking on “Play virtual machine”:
f) You will see a screen similar to the one below, where it is possible to show the IP address that was assigned to OpMon. Use this IP to start the discovery of OpMon.

- In case a problem occurs and there is the need to conduct a network configuration, simply log into the OpMon terminal (user: “root” password: “opservices ‘) and type the command system-config-network in the terminal that will open to make the relevant settings.
- Make sure that the established configuration is valid, otherwise OpMon will become inaccessible.
All set, what now?
After completing the installation process, the next step is to have the server start monitoring. To do that, you can access our Plugins and Templates base, click here to learn more.