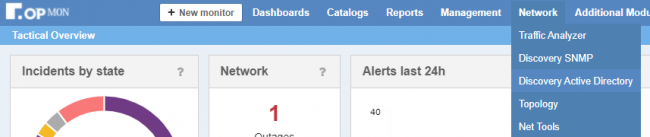
Since OpMon v10.2.0 , there is a new Discovery option, the Discovery Active Directory.
This new feature has been made available to allow the automation of discovery process of new assets to be monitored and its subsequent inclusion in the monitoring automatically. The monitoring disablement process of a asset can be automated when the asset is removed from AD.
The discovery process of new assets starts from Monday to Friday at 5a.m.
The first screen show a list of discoveries AD configured. In this case, no one.
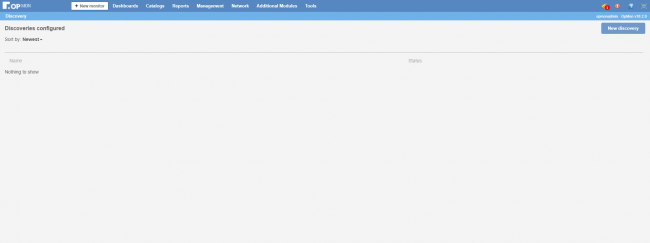
To start, click in New Discovery

Fill the form correctly (the fields with * are mandatory)
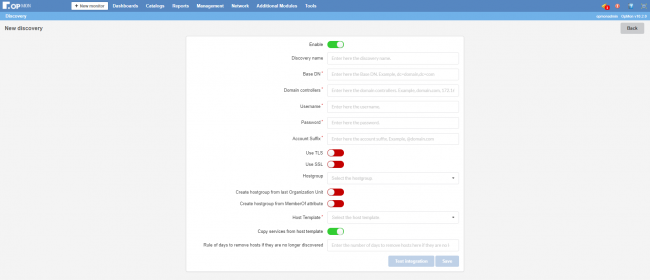
- Enable: enable or disable the discovery
- Name: discovery name. Should be only unic.
- Base DN: your base DN. E.g.: dc=domain, dc=com
- Domain controllers: domain controllers. E.g.: domain.com, 172.16.0.1
- Username: type the username
- Password: type the password
- Account suffix: type the account suffix. E.g.: @domain.com
- Use TLS: enable or disable TLS
- Use SSL: enable or disable SSL
- Hostgroup: select the Hostgroups
- Create Hostgroup from Organization Unit: enable or disable the Hostgroups creation from the last OU. E.g.: OU=group1, OU=all
- Create Hostgroup from MemberOf attribute: enable or disable the Hostgroup creation from AD MemberOf
- Host Template: select the Host Template
- Copy services from Host Template: enable or disable the copy of the services from the Host Template. This option do not associate to Host Template, just copy the configurations
- Rule of days to remove hosts if they are no longer discovered : define in how many days the host will be removed in case they are no longer discovered. If you enter 0 or nothing, the hosts will never been removed.
Finally, you can test your integration or save the configuration. Note the buttons just will be enabled if you fill the mandatory fields.

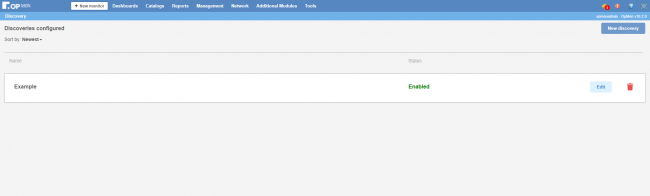
If you save and click to back button, you will see your first discovery AD configured, with the edit and delete options.