
Objective
Use this OpMon Model to monitor Windows 2008 R2 DNS, through NSClient++.
Target Audience
OpMon admins who wishes to monitor Windows 2008 R2 DNS.
Prerequisites
- OpMon 7.0 or higher.
- Have the OpMon installed.
- Have the NSClient++ installed, how to make the installation follow this documentation.
Available Services
- Counters
- CNTDSAB Client Sessions
- NTDSATQ Estimated Queue Delay
- NTDSATQ Outstanding Queued Requests
- NTDSATQ Request Latency
- NTDSDRA Inbound Full Sync Objects Remaining
- NTDSDRA Outbound Values (DNs only)/sec
- NTDSDRA Pending Replication Synchronizations
- NTDSDS Directory Reads/sec
- NTDSDS Directory Writes/sec
- NTDSDS Name Cache hit rate
- NTDSDS Notify Queue Size
- NTDSDS Threads in Use
- NTDSLDAP Active Threads
- NTDSLDAP Bind Time
- NTDSLDAP Client Session
- NTDSLDAP Searches/sec
- NTDSLDAP Successful Binds/sec
- NTDSNTLM Binds/sec
- NTDSSAM Account Group Evaluation Latency
- NTDSSAM Enumerations/sec
- NTDSSimple Binds/sec
- Ports
- 389
- 464
- 636
- 3268
- 3269
- Services
- ADWS
IsmServ
kdc
NTDS
- ADWS
Applying the Monitoring Model
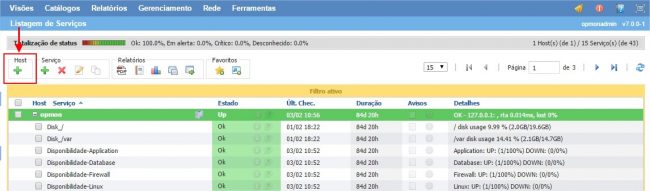
On the hosts or services management area, click on “+” icon to add a new Host, like the image below:
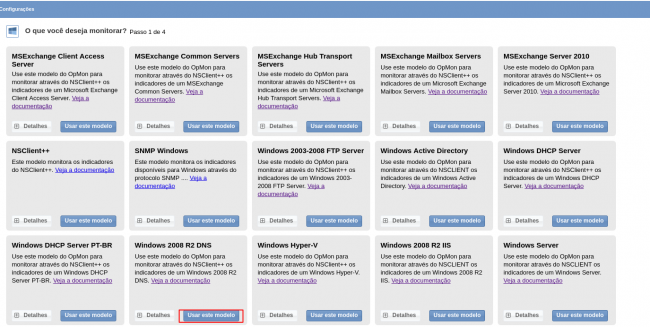
In this area, select the Windows Model Category:

Then click on “Use This Model” on Windows 2008 R2 DNS:
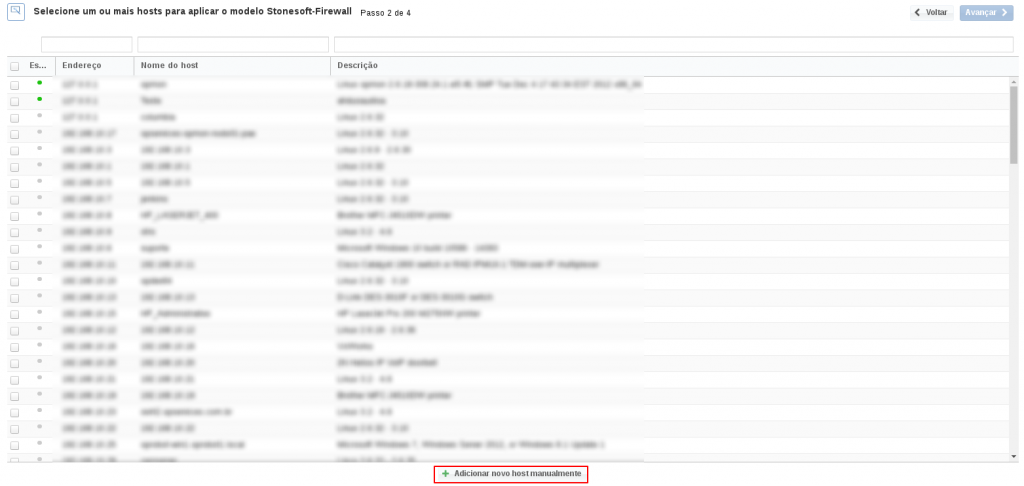
This model could be applied on Windows host, or if you wish, you can add a new host just for this monitor. If you wish add a new host, click on: “Add a new host manually”:
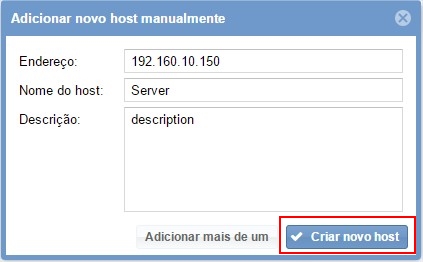
In this area insert the relative information about the Host, in this case the Windows host in question and click in “Create a new host”:
In this area, with the host selected click in “Next”:
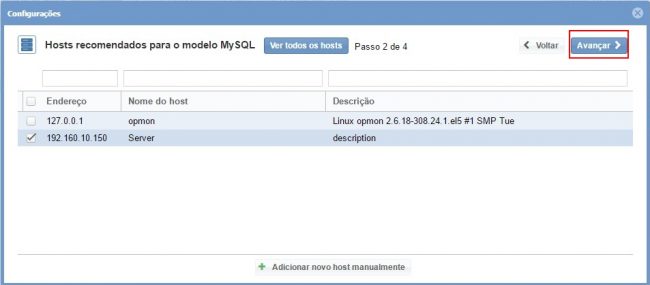
Then you will see an screen like below, where are informed the Windows DNS information like IP:
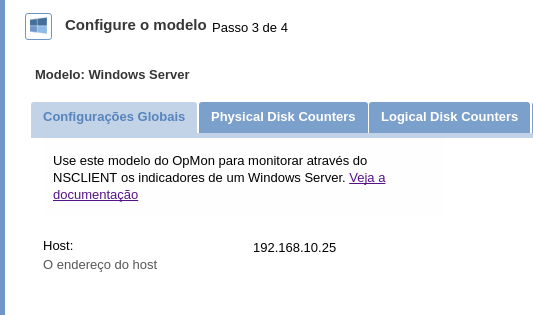
To make the service definitions, just navigate through the services using the buttons “Next” and “Back”:

After concludes the definition of services, advance to the revision area of included services. Enjoy to observes which be possible expand the revision area of hosts and services, just click on “+” icon, like below:

As you can see, in this area it is possible to make changes if necessary. When the definitions are make, just click in “Finalize” to conclude the model application process.
Done! The elements are included with success.