Objective
The objective is to describe the procedures to a manual installation of the monitoring agent on HP-UX, platforms, in order to monitor with the OpMon.
Target audience
It is intended for OpMon administrators and for IT teams that are already familiar with the installation of HP-UX apps and with the configurations of the OpMon.
Solution
In order to optimize the installing process of the agent HP-UX, the OpServices has created an automated installation package, containing the NRPE + NagiosPlugins + OpServicesPlugins. For those who want to perform the installation of this package, click here and follow the steps.
For those who want to perform the installation manually, follow the steps below.
To the installation process, the files NRPE + NagiosPlugins + OpServicesPlugins will be used, which may be downloaded, on their latest version, on the following address:
![]() The download link is available on the page of the OpServices: [ HP-UX-11.1a64-2.12.tar.gz ]
The download link is available on the page of the OpServices: [ HP-UX-11.1a64-2.12.tar.gz ]
The agent must be installed on the target HP-UX machine and afterwards configured on the OpMon, making it thus possible to monitor system metrics, services, processes, performance data, among others.
1) Obtaining the agent
Logging as the root of the target server and later download the files, as shown below:
[root@localhost]# cd /tmp
[root@localhost tmp]# wget http://www.opservices.com.br/files/agentes/HP-UX/opmon-hpux-11-ia64-2.12.tar.gz
2) Preparing the requirements
To unzip the file just run the command below, the result should be similar to the one shown below.
[root@localhost tmp]# tar -zxvf opmon-hpux-11-ia64-2.12.tar.gz
Navigate to the created directory through the procedure below
[root@localhost tmp]# cd opmon-hpux-11-ia64-2.12
3) Installing the agent
Using the command swinstall , install the package according to the steps shown below:
[root@localhost opmon-hpux-11-ia64-2.12]# swinstall -s NRPE-2.12.depot
The following message will be displayed. Press ENTER.
Press "Return" to continue...
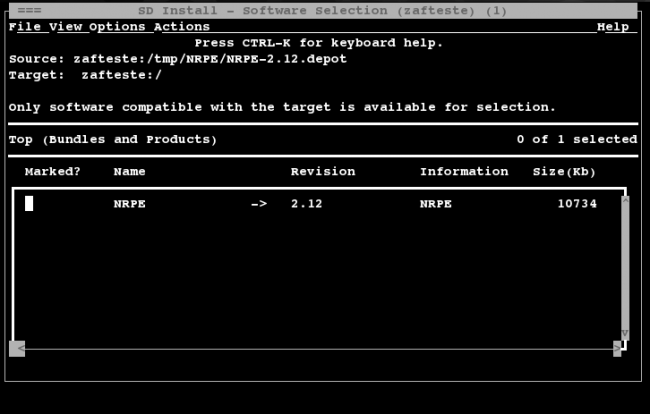
Check the installation package selected by pressing the SPACE bar on the keyboard.
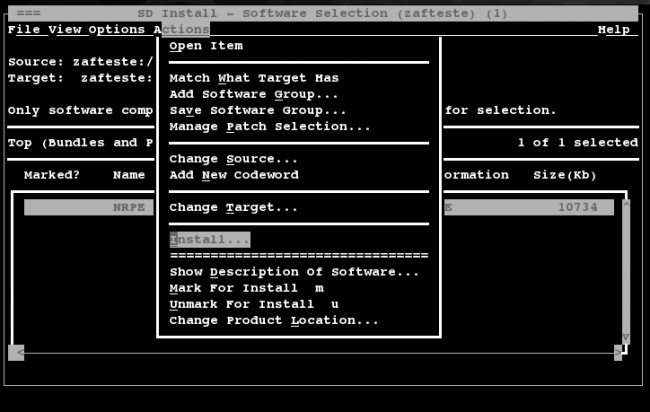
Using TAB, arrow and ENTER, select Actions > Install.
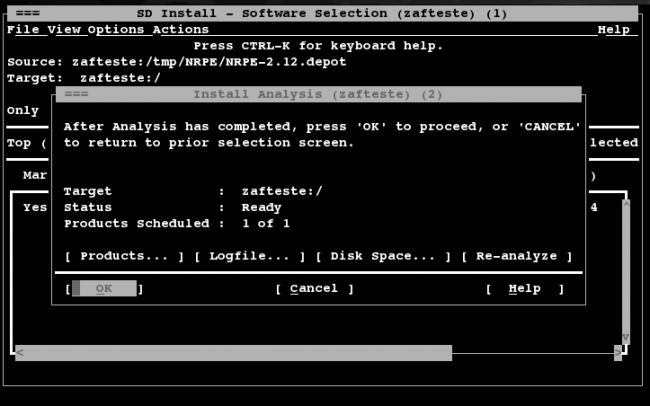
Select the option OK.
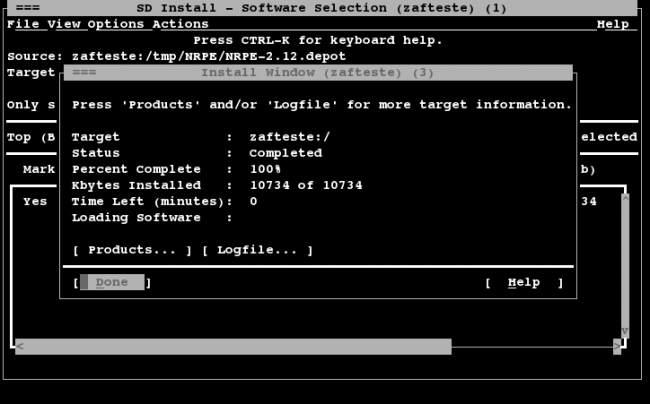
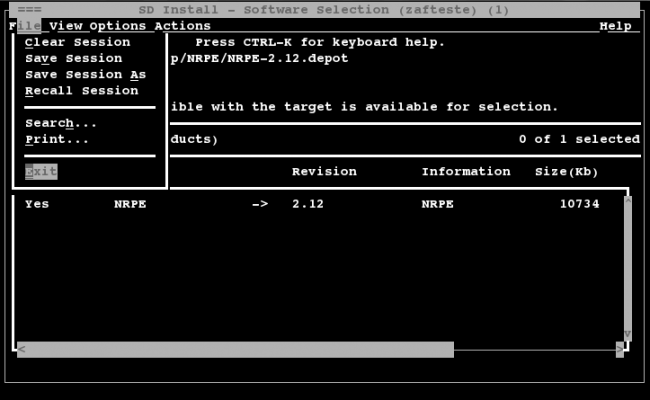
When the installation is concluded, select Done.
Access the menu File > Exit.
4) Fine adjustments
To set up user, group, port and agent startup, run the command as shown below.
[root@localhost ]# /opt/nrpe/bin/configure.sh
5) Setting up the Plugins of the OpServices
To run the plugins settings and final configurations of the nrpe.cfg, use the following command:
[root@localhost ]# /tmp/opmon-hpux-11-ia64-2.12/configure_opservices.sh
6) Testing the Plugins
To validate whether the plugins are working, some tests are necessary. Once everything is correct, the result displayed must be similar to the one below:
[root@localhost]# cd /opt/nrpe/libexec
[root@localhost libexec]# ./check_load
check_load: Could not parse arguments
Usage:
check_load [-r] -w WLOAD1,WLOAD5,WLOAD15 -c CLOAD1,CLOAD5,CLOAD15
[root@localhost libexec]# ./check_http -H www.google.com
HTTP OK: HTTP/1.1 302 Found - 1009 bytes in 0.219 second response time |time=0.218719s;;;0.000000 size=1009B;;;
7) Testing the access locally
To verify if the port 5666 is available for connections, use the following command and check if the output is similar to the one below:
[root@localhost]# netstat -vantup | grep 5666
tcp 0 0 0.0.0.0:5666   0.0.0.0:*   LISTEN 2202/xinetd
To verify the communicaton of the NRPE
[root@localhost]# /opt/nrpe/libexec/check_nrpe -H 127.0.0.1
NRPE v2.12
8) Testing the access throught the OpMon
From the console of the OpMon, it is possible to verify the NRPE communication when the following command is executed, setting the IP_DO_SERVIDOR where the agent was installed.
[root@opmon]# /usr/local/opmon/libexec/check_nrpe -H IP_DO_SERVIDOR
NRPE v2.12
Running a query load through the NRPE.
[root@opmon]# /usr/local/opmon/libexec/check_nrpe-H IP_DO_SERVIDOR -c check_load -a none
OK - load average: 0.02,0.03,0.00|load1=0.020;15.000;30.000;0;load5=0.030;10.000;25.000;0;load15=0.000;5.000;20.000;0;

