
Objective
Describe the steps to perform the OpMon Wizard.
Target audience
Targeted to the OpMon administrators and IT teams who, after installing and setting up the environment, need to perform the OpMon Wizard.
Solution
Follow the steps to carry out the OpMon Wizard.
1) Select the desired product
Acess the web interface using the IP that was assgned at the time of installation. Upon the first access you will see a screen similar to the one below, where you should select if you want to start setting up OpMon ou OpMon Traffic Analyzer, for more information about OpMon Traffic Analyzer click here.
a) Select the option “Setting up OpMon” check the example below:

b) On the next screen you will see the license term, click “I agree” to proceed with the installation.
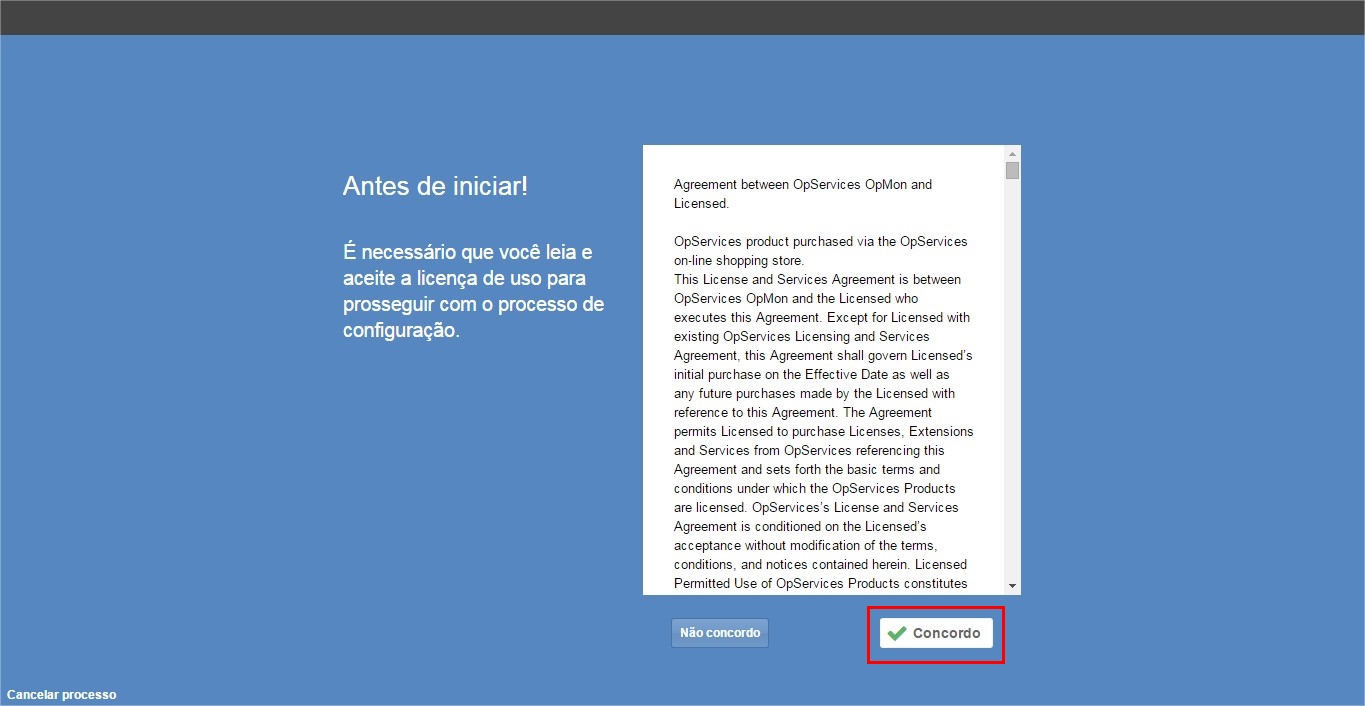
c) Note that at any time you can cancel the process, just use the button located at the bottom left of the screen:

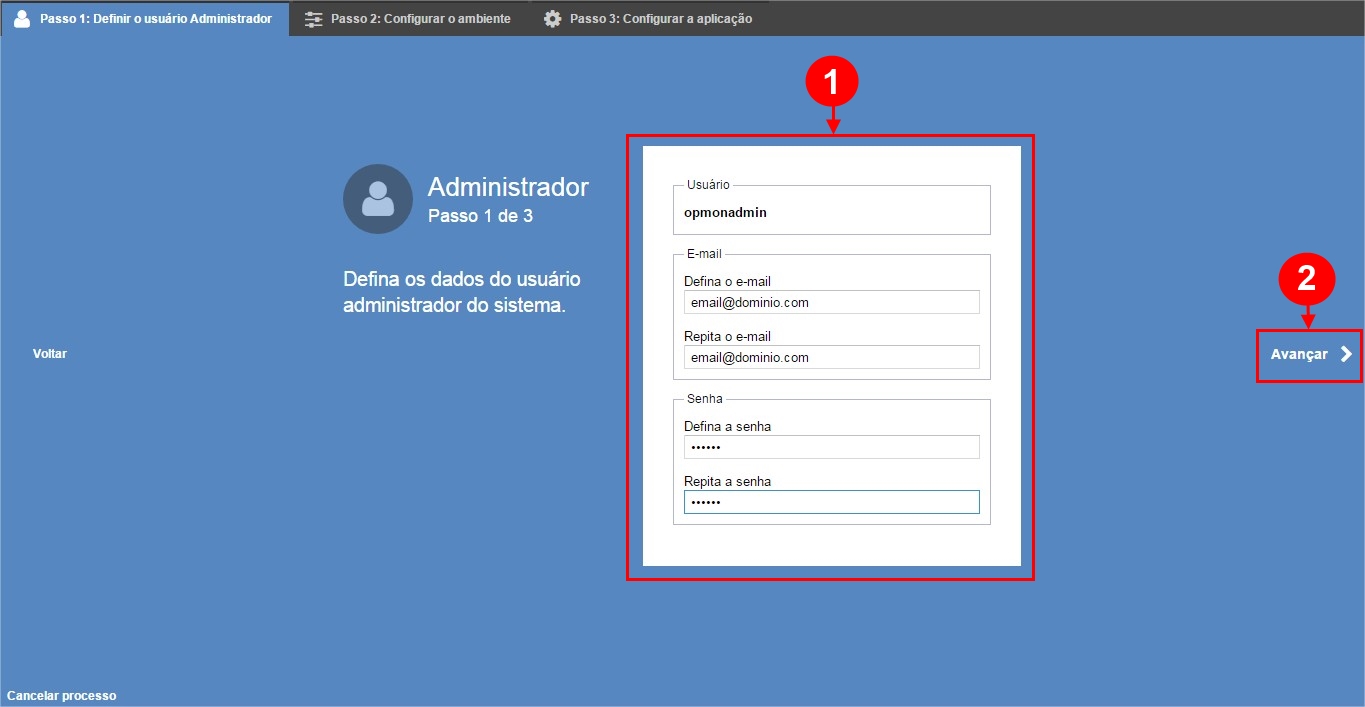
d) Set the password and the administrator user email (opmonadmin) and then click “Next“:
2) Setting up the environment
On the next screen you can choose to have environment setting automatically performed by OpMon, or else you can manually perform these settings. Each of these options will be explained below:
-
Using the automatic setup option (recommended)
a) By choosing the atuomatic configuration option, OpMon wil automatically perform the settings for you, just click on the option “Configure the environment for me“:

b) Then you will see a summary of the settings automatically made by OpMon, but it is important to note that even with OpMon suggesting the settings, you can edit some setting that you consider relevant directly on the summary screen; just click “Edit the settings“. To complete the environment settings, just click “Next” to start the discovery of the elements (Discovery).
Click here to acess the conten related to the Discovery.
-
Using the manual setup option (advanced)
a) By opting for manual configuration, you will define the settings manually, making the necessary ones for the operation of OpMon in your environment. But at any time you may request that OpMon complete the settings for you, so that the information entered will be considered and OpMon will just complete the settings of the remaining steps from that point on, where you set it.

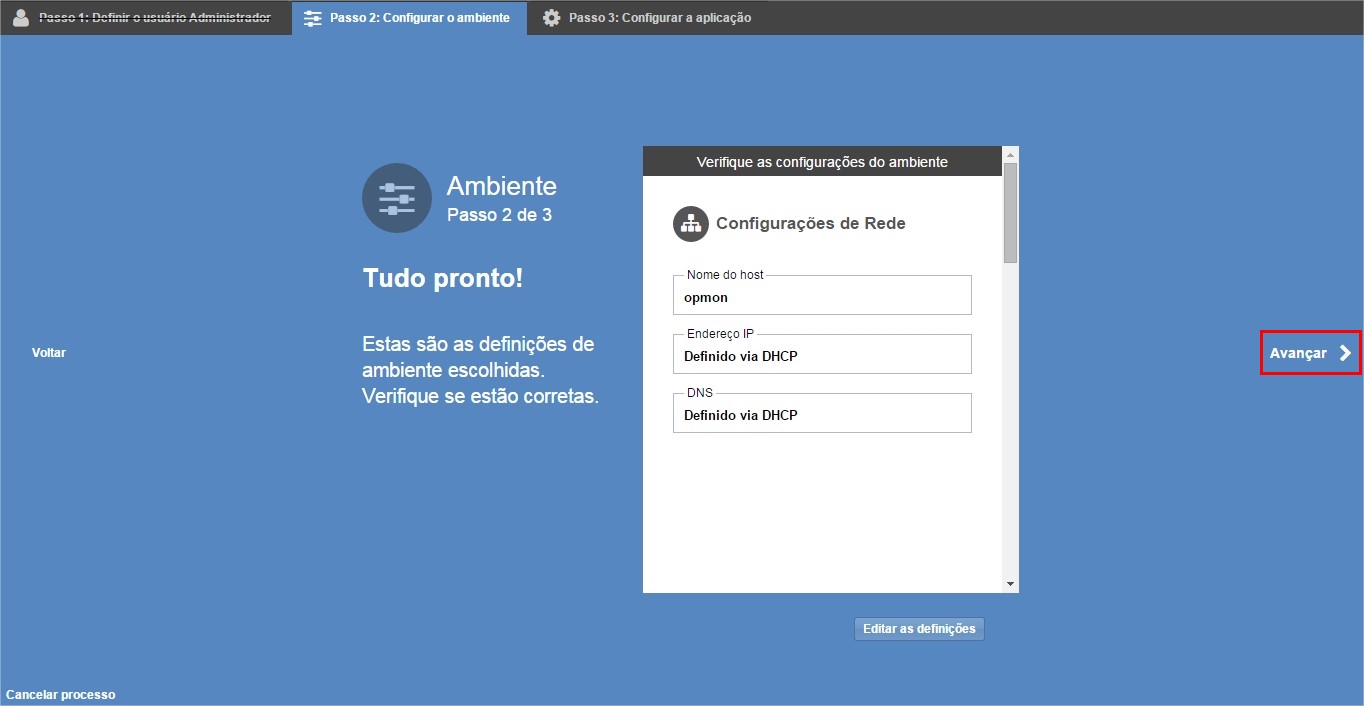
b) The first configuration concerns the definition of host name, IP address and DNS. Note that you can choose for this information to be defined by DHCP, or even click “Edit the settings” to manually enter the information on the host name, IP address and DNS, as can be seen below:

c) On the next screen you can make the Email server settings, just click “Edit the settings“, check below:

d) Set the information and then click “Save the settings”:
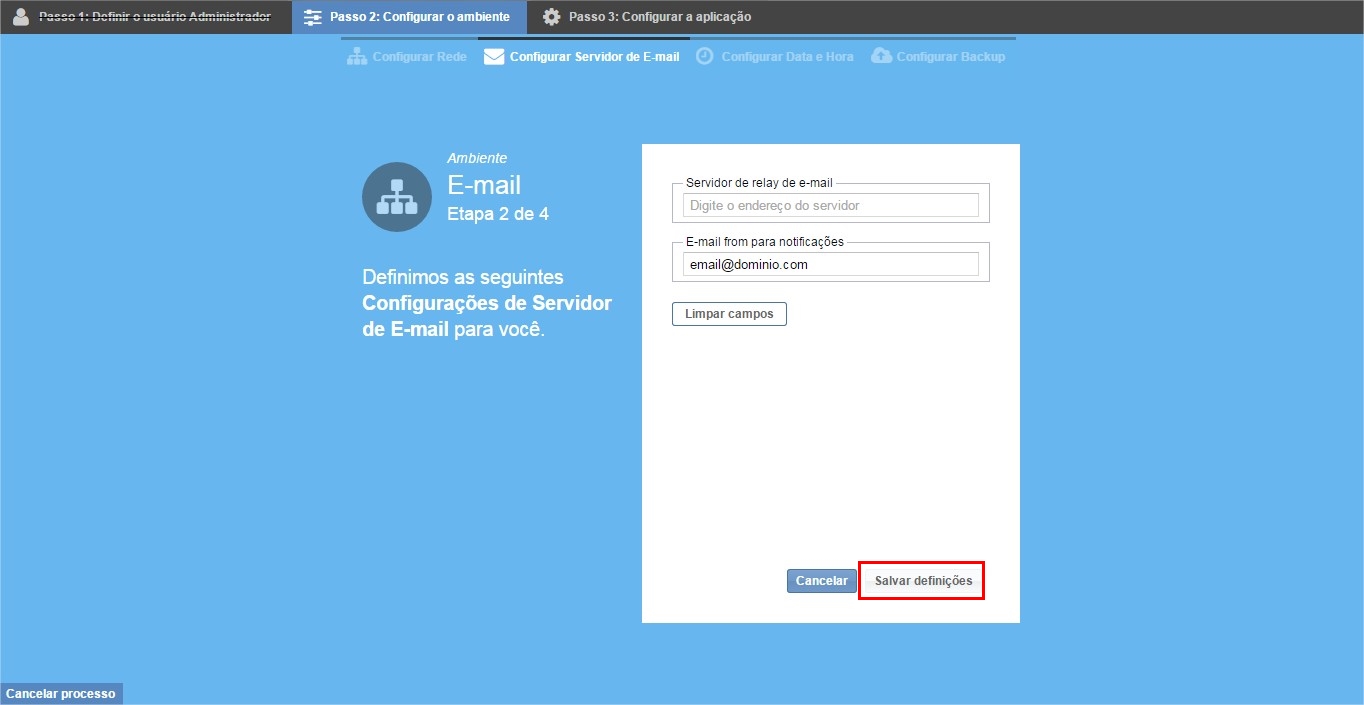
Where:
- E-mail relay server: this setting defines to which e-mail server OpMon should direct the notifications so that they are correctly delivered.
- E-mail from for notifications: defines the source e-mail for notifications. When users receive notifications via e-mail, they arrive as having been sent from the e-mail set in this option.
e) Then make the settings for date and time; click “Edit the settings“:
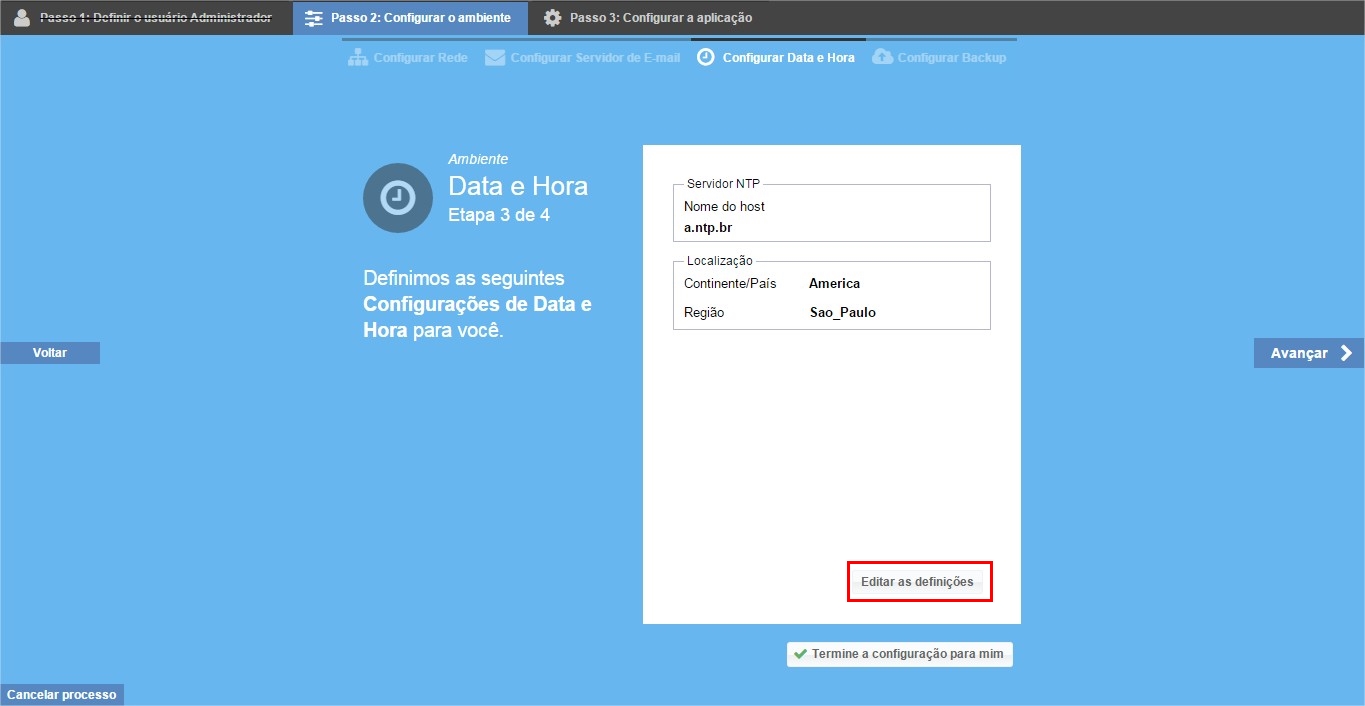
f) You will see a screen that is similar to the one below, where you must make the settings for NTP Server and Localization. After the settings, click “Save Settings“:
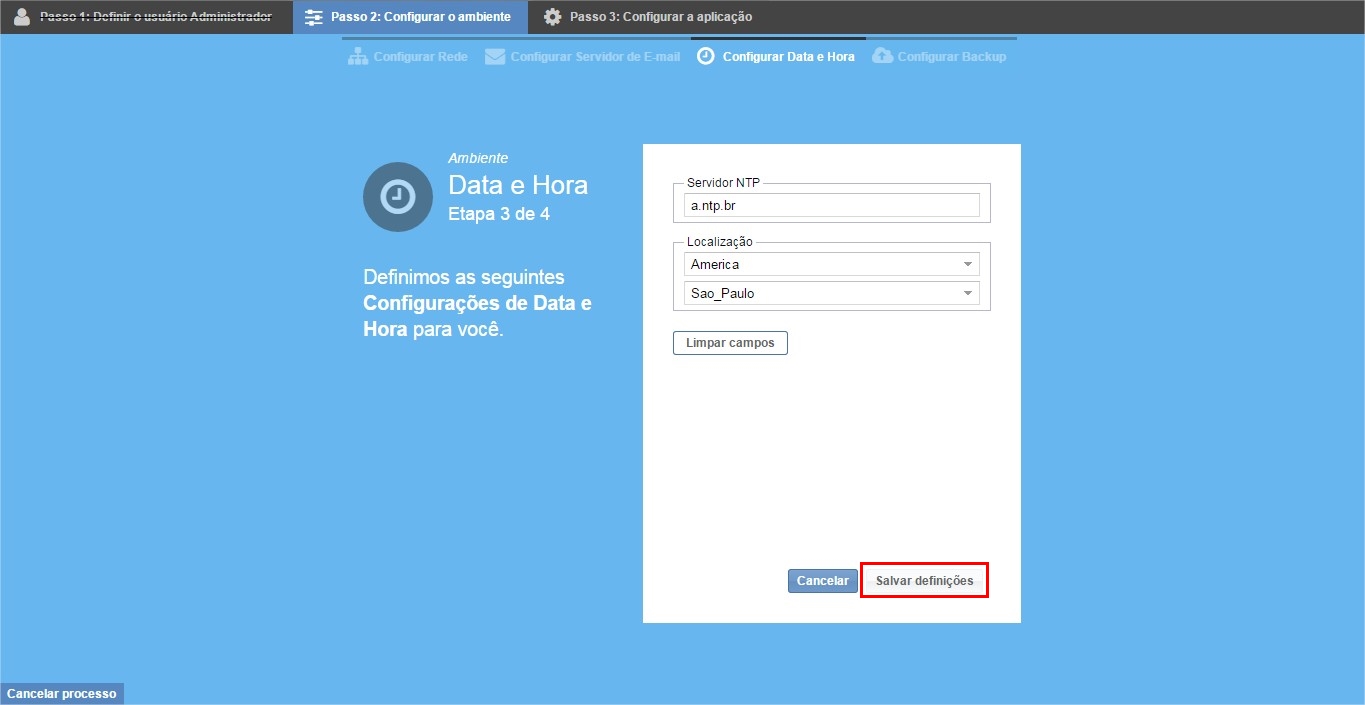
Where:
- NTP Server: NTP is a protocol for synchronizing the computers clocks, that is, it defines a way for a group of computers to talk to each other and set their clocks based on some precise time source, such as the atomic clocks of the National Observatory (Observatório Nacional), which define Brazil’s official time.
g) The next area concerns the backup setting, where the location of the Backup is reported and you can set how often to perform a backup; just click “Edit settings“:

h) And there it is, the settings have been made; on the next screen it is possible to see a summary of the settings. If you need to carry out any changes to the summary, simply click “Edit settings“; otherwise click “Next” to start the discovery of the elements (Discovery).
