Goal
Describe the configuration for permissioning a dashboard.
Target audience
Intended for OpMon administrators who need to manage Dashboards.
1) Understanding Permissions
Operators user
- Can not configure permissions for Dashboards;
- A Dashboard without a registered permission will be visible to these users and will be read-only;
- If the user have read and write permission, he can edit the Dashboard;
- Can not create new Dashboards.
Administrator or opmonadmin users type
- Can configure permissions for Dashboards;
- A dashboard without a registered permission will be visible to those users and will be read-only;
- If they have read and write permission, they can edit a Dashboard;
- They are allowed to read and write if they have created the Dashboard;
- Permissions are registered to groups of contacts;
- They can view all Dashboards to edit any Dashboard’s permission;
- Can create new Dashboards.
Opmonadmin user
- Can configure permissions for Dashboards;
- Always has read / write permission;
- Permissions are registered to groups of contacts;
- You’ll always see all the OpMon Dashboards;
- Can create new Dashboards;
2) Configuring permission for existing Dashboards
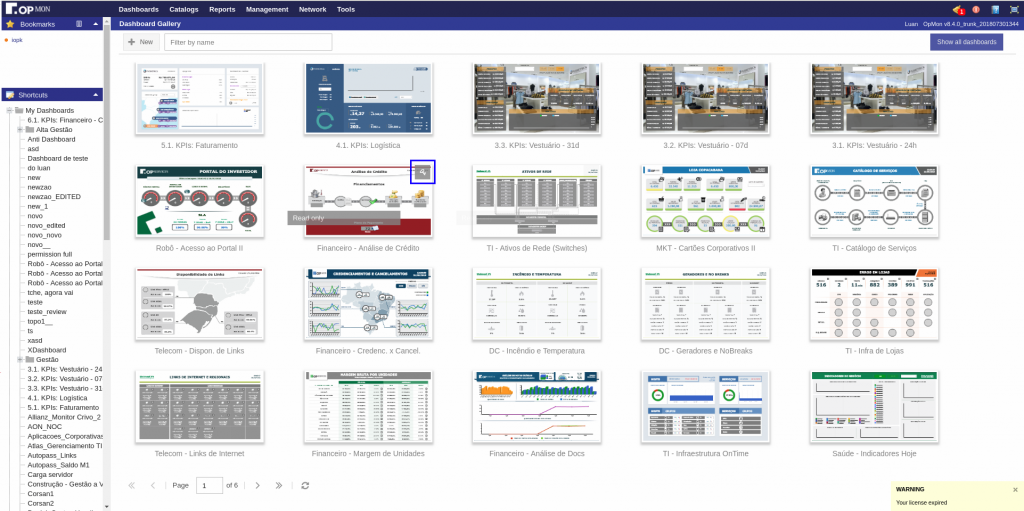
When accessing the listing of Dashboards, each Dashboard will have a key icon that will appear when you position the mouse above.
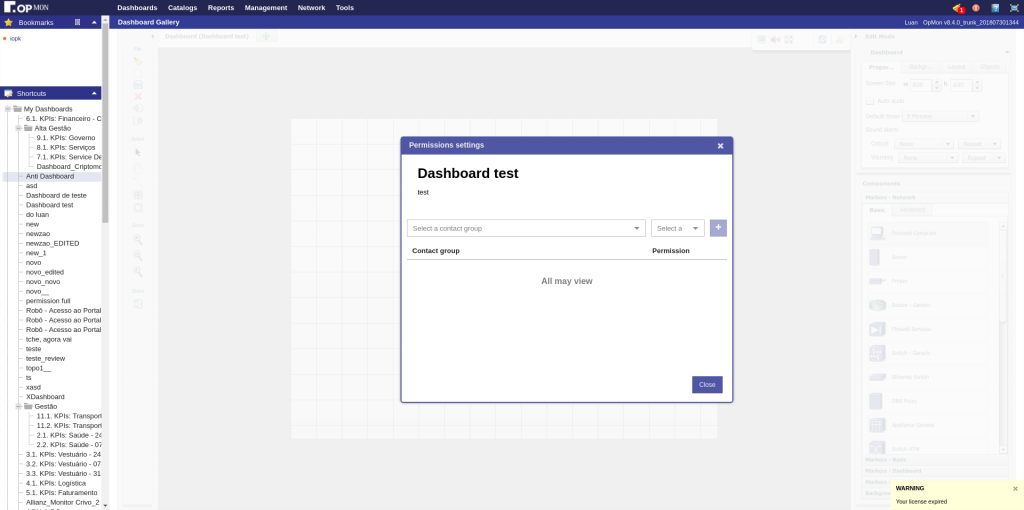
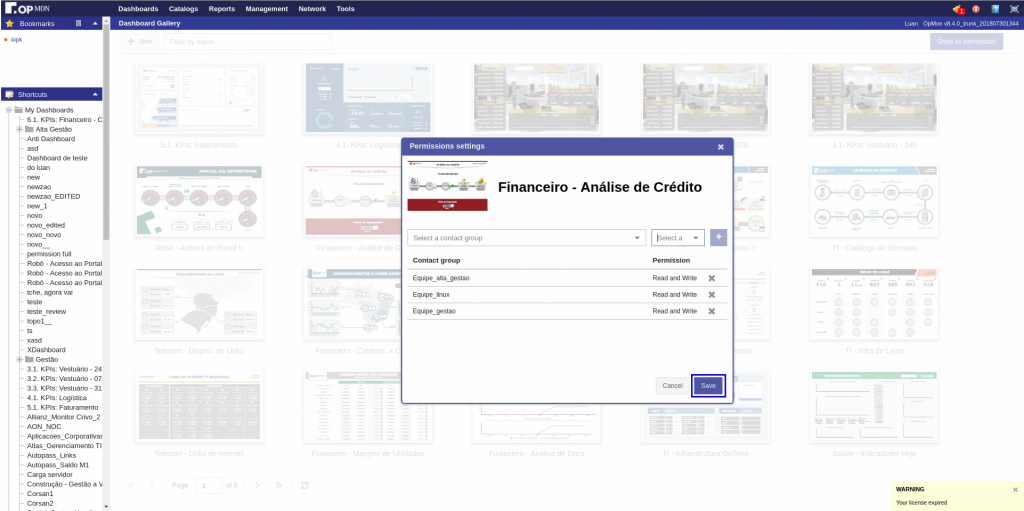
Clicking on the icon will open the permission setting screen:
- Form to select contact group and type of permission;
- You can select more than one contact group;
- If a contact group that the user are not in is selected, Dashboard will disappear from your listing. We’ll see below how you can see Dashboards that you does not have permission in case you need to reconfigure the permissions.
- Listing all permissions configured for the selected dashboard.

When you have finished choosing the contact groups and their permissions, press the save button and your listing will be updated showing with the new configuration registered.
Done, the Dashboard is set up and all users of your OpMon will respect the configured permissions.
3) Viewing Dashboards in which the user is not allowed
If your user is administrator or type opmonadmin, you can see all the Dashboards that exist in OpMon in order to configure the permissions. In order for you to have all Dashboards in your listing, there is a button in the upper right corner of the listing, clicking on it, your listing will be updated showing all existing Dashboards in OpMon. This button is only visible to admin users and type opmonadmin, user opmonadmin sees all Dashboards always and will not have this button in their listing.
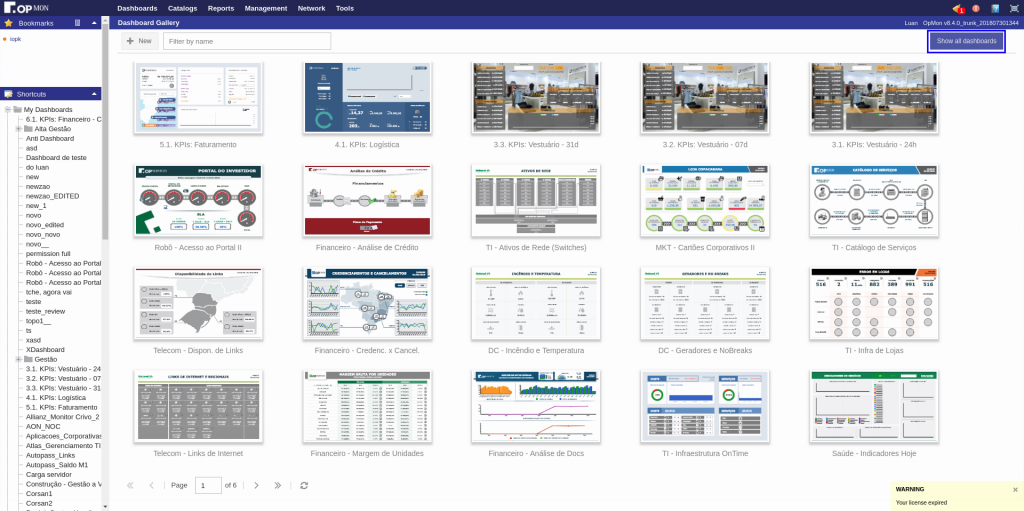
To see only your Dashboards again, click the same button again.
4) Setting up permission for a new Dashboard
To create a new Dashboard, click the “New” button in the upper left corner.

Once the dashboard is mounted and you are ready to save, click the floppy icon located on the left bar.
Fill out the form and click save.
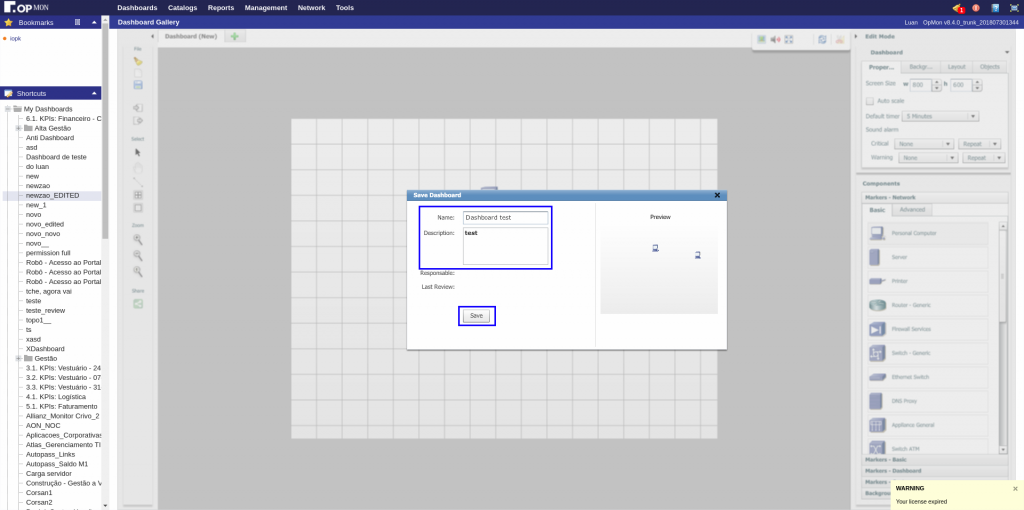
Clicking save will open the permission setting screen. This screen works the same way as when setting up for existing Dashboards.